

Basics
Logging In And Getting Started
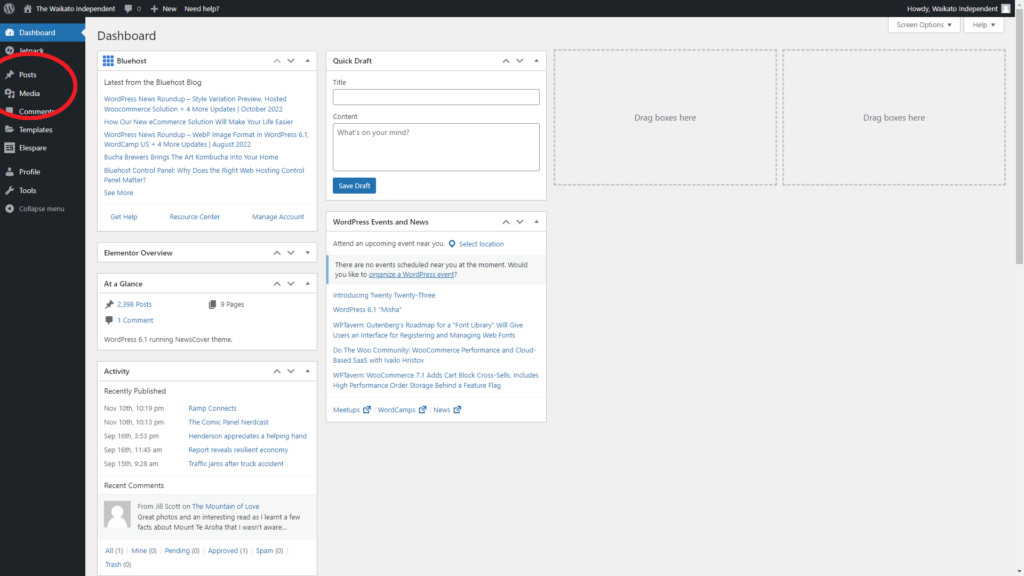
Once you’ve logged in through the Student Portal you will find yourself on the dashboard.
From here you can access Posts and the Media Library.
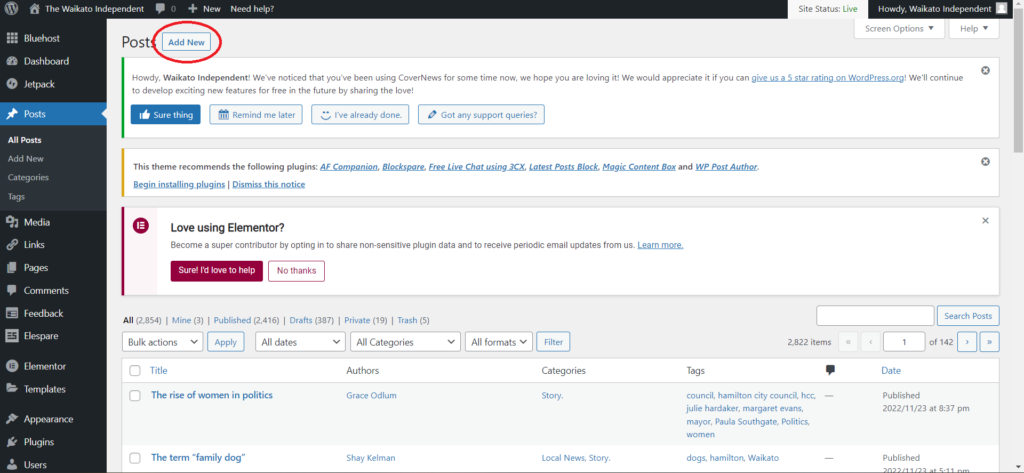
To create a new post, click the Add New button towards the top left of the screen.
The Editing Screen
The Waikato Independent is created using WordPress which uses Blocks to create pages and posts. Elements of your article such as text, images and other multimedia are added to your article by adding the relevant blocks. For example, Image Blocks allow you to upload images to your article.
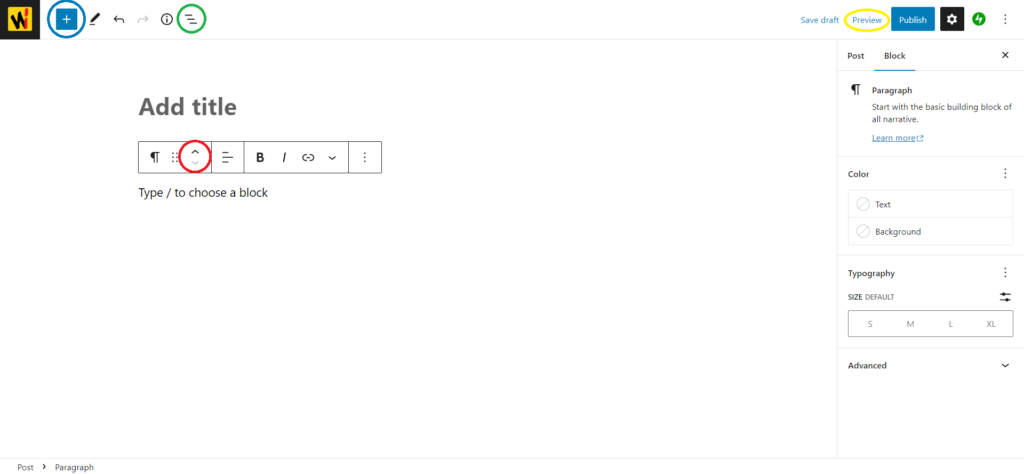
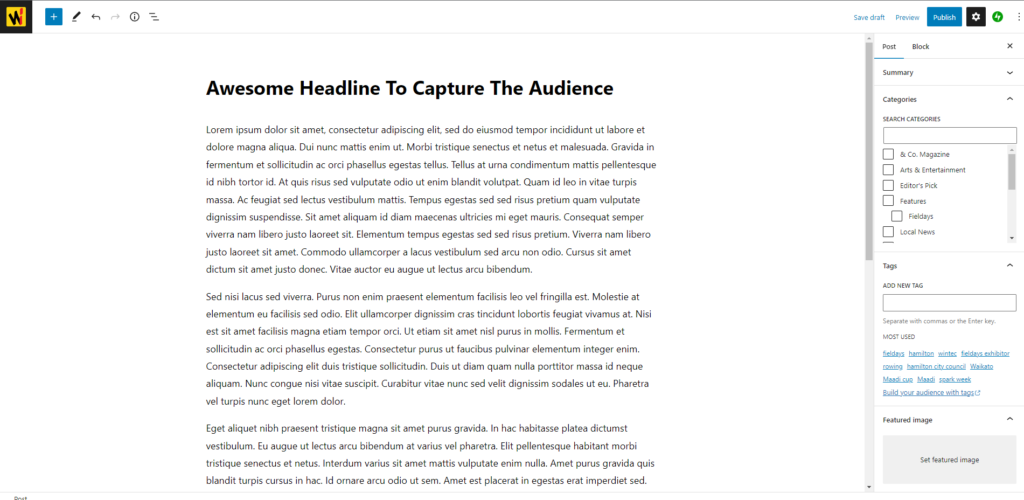
To add blocks to your article, click on the blue “+” located at the top left of the screen (circled in blue) and drag the block you’d like to your article. You can also add blocks to the bottom of your article simply by clicking the block.
Please Note: If no blocks are showing, please Update your article and Refresh your page.
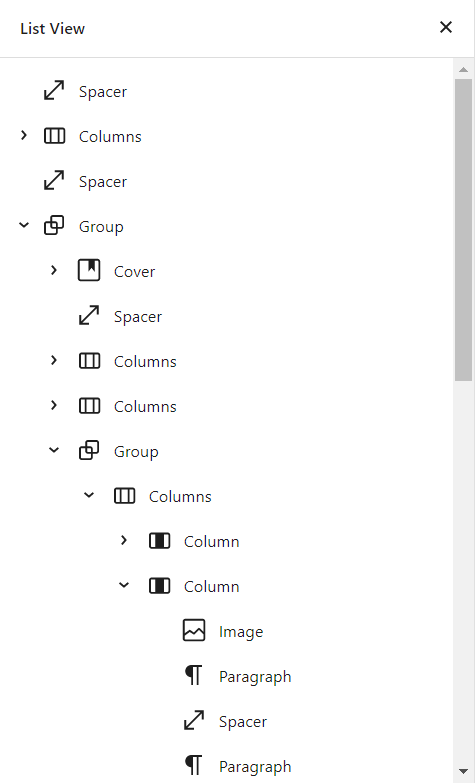
You can move or align blocks within your article by clicking the arrows (circled in red) up or down. You can also view all the blocks in your article in a list form (circled in green) and edit them or move them through your article.
At any time you are able to view a preview of what your article will look like live on the site.
To do this, click on “Preview” towards the top right on the editing screen (circled in yellow), and click “Preview in new tab”.
Creating A Simple Text and Image Article.
Text is easy to add to your article by simply copying and pasting into the CMS.
Depending on your browser set-up, there may not be any spellchecking software on your article. This makes it important to write your article in a different location and then transfer it over to the site.
Adding And Aligning An Image To A Post
Inserting media into your article is just a simple drag and drop.
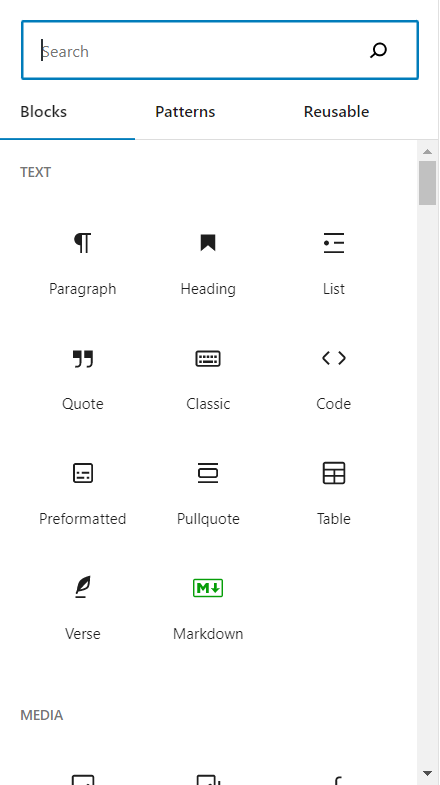
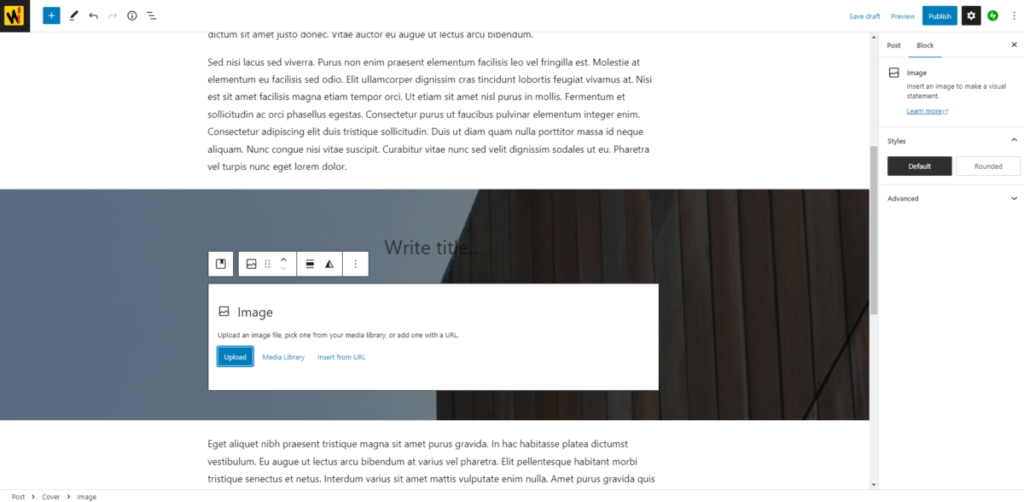
To insert an image to your article, click on the blue + towards the top left of the screen.
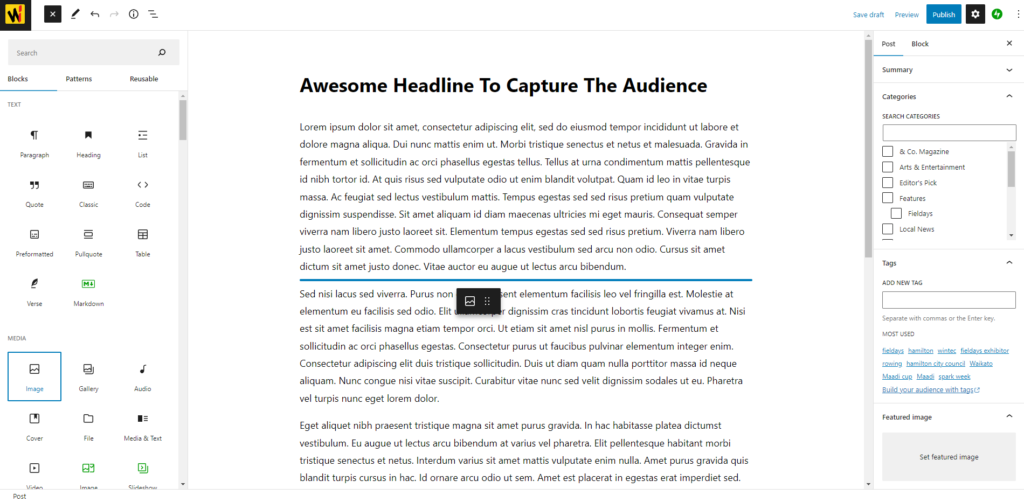
Scroll until you see the Image block, as highlighted in the image to the left.
Drag this block to where you would like your image in your article.
Clicking the Image block will add it to the bottom of your article. In this case, you can use the arrow buttons to move your image up and down the article.
Now that you have the block where you want it in your article, you will be able to add your media to the block.
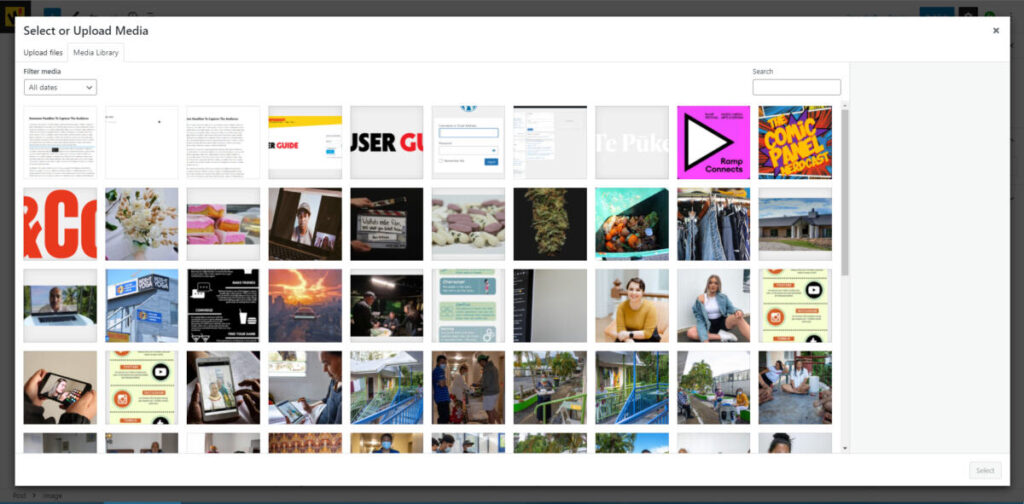
Using the Media Library to add images and other media.
When adding media to your article, you are able to upload directly from your computer folders or use the Media Library.
Once opening the Media Library you’ll find the image to the right. From here you can select other media you have uploaded in the past or drag and drop your piece of media to upload it.
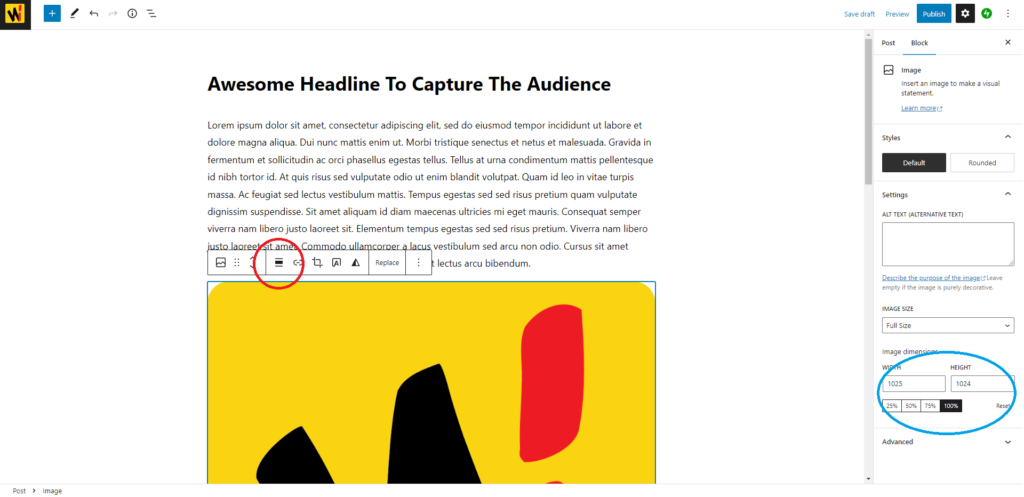
Aligning Your Images.
By default, your media will have no alignment. This means that your image may not show on the finished article how you’d like. (Remember you can always preview your article by clicking “Preview” at the top right of the screen and then clicking “desktop”.)
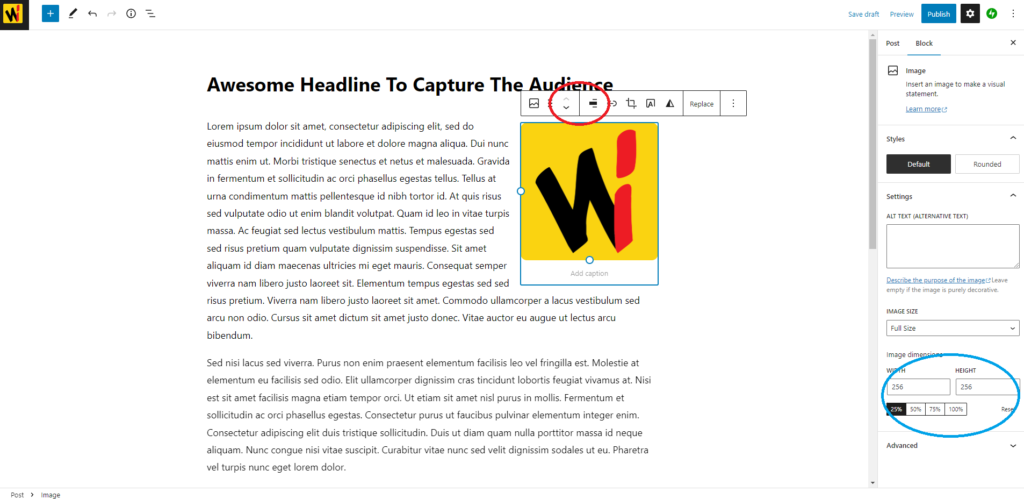
To align your image, click the align tool (circled in red in the image to the left) and choose how you’d like it aligned. You can choose from the media being aligned to either the right, left or the centre of the article or stretch across the width of the article.
You are able to change the size of the image by changing the “Image Sizing” tools. (Circled in blue in the image to the left.)
Once you have your image where you are happy with it you can now add a caption by clicking on the image, clicking on “add caption” below the image and then type in your caption. Remember to add credit to who took the photo or made the image, even if you’re the one who made it.
Setting up your article to post.
Before you post your article, you must ensure it has the correct settings. To make sure these settings are in place, it’s recommended that you put these settings in place first.
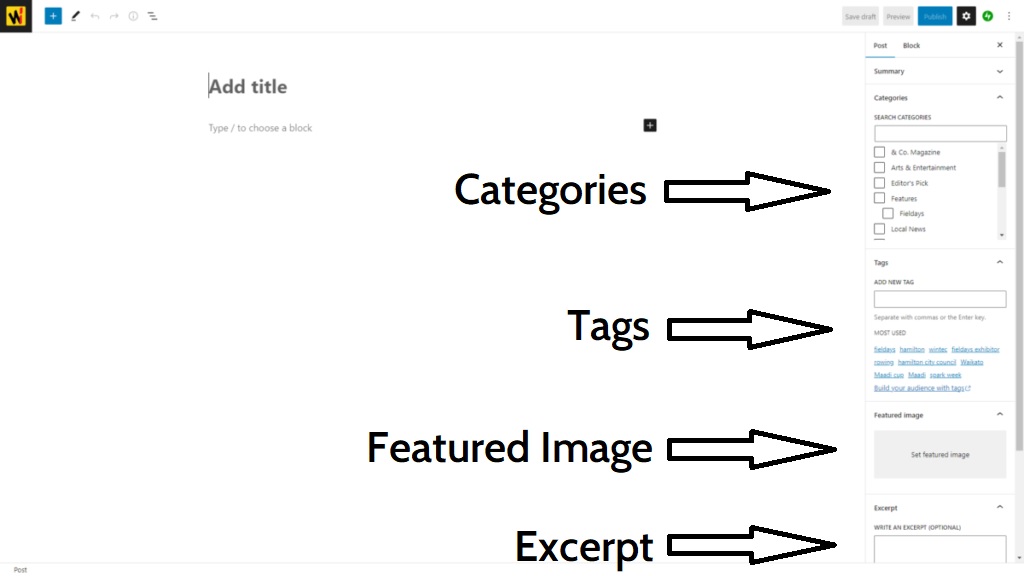
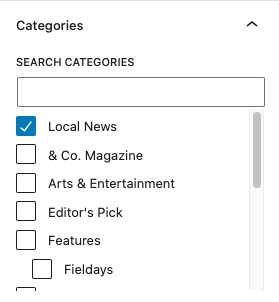
Categories
The articles on the Waikato Independent are divided into separate categories to help organize the site. By default, your articles will be in “Local News”, but you are more than welcome to select other categories relevant to your article.
The &Co and Story Categories are to be used only by their respective classes. If you are creating an article for either of these two projects, make sure your article is categorized properly, or it will not show up on the page for your project.
Tags
Similar to the Categories, Tags are another way of organizing your article on the site. However, unlike Categories on the site, you’re able to select any and all the keywords that you feel are relevant to your article.
Users are able to search keywords on the site to find articles. Adding keywords relevant to your article has more chances of being read by people searching the keyword on the site.

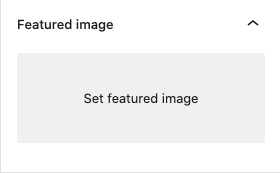
Featured Image
The images you see throughout the Waikato Independent are the Featured Images of the articles. These images give the audience a visual clue as to what your article is about, enticing them to read it.
Without a Featured Image, your article will show up with a grey square that would make your article look unfinished.
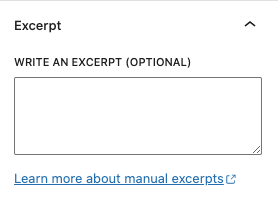
Excerpt
Your excerpt is the small text featured on the site under the Featured Image. The excerpt is a small block of text used to quickly convey to the audience what your article is about.
Without adding an excerpt the site will take the first few lines of your article to be used.
Covers
This is an example of a Cover
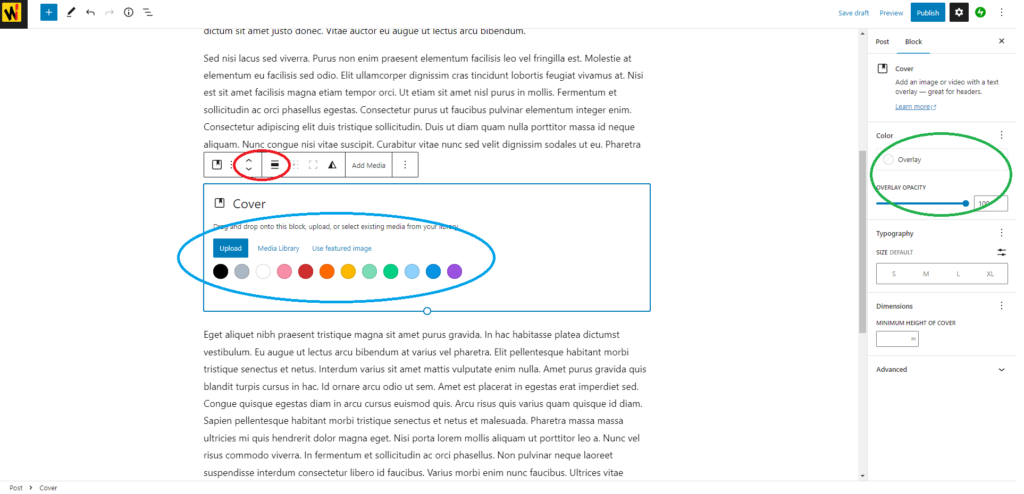
A brilliant way to separate your article into different chapters, Covers allow you to layer content atop an image or solid colour.
To add a cover to your article, click the blue + at the top left of the screen and scroll to the Cover block.
Same as an image, drag the block to where you’d like to place it within the article. Clicking the block adds it to the bottom of your article.
Once you’ve added the block to your article, you’ll be able to upload an image, use the Media Library, or select a full colour.
If you’ve chosen to add an image to your Cover, you will be able to change the colour and opacity of the overlay (circled in green in the image to the left) and the focal point of your image (circled in red in the image below.)
To add content to your cover such as a heading, paragraph of text, or image, click the cover before clicking the blue + at the top left of the screen.

Galleries

Made using the Default Gallery


Made using the Titled Gallery
Default Gallery
To add a Default Gallery to your article, click the blue + towards the top left of the screen and scroll until you see the Gallery block. (It’s next to the Image block.)
From there, drag the block to where you’d like it placed in the article or click the block to add it to the bottom of your article.
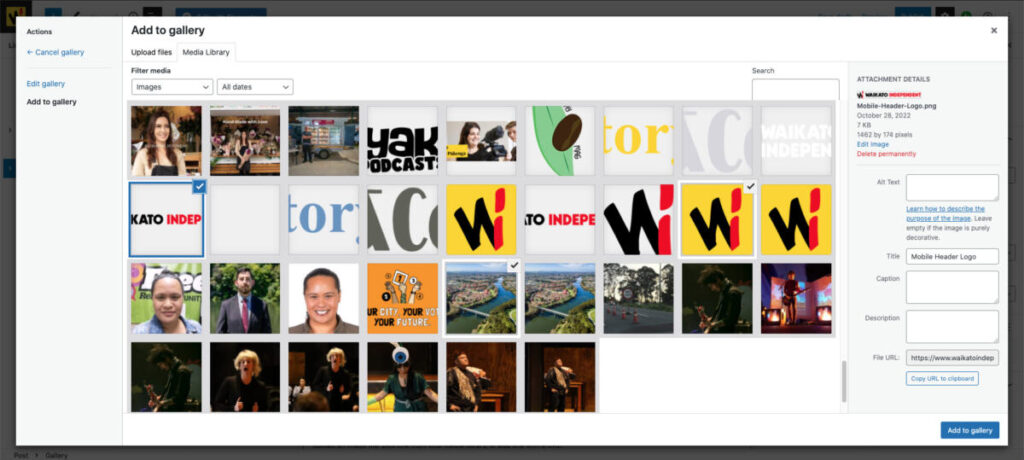
You can then upload your images directly from your computer or use the Media Library the same way you do with an image.

Once your images are added to the gallery you will be given the option to edit the order your images are shown in the gallery.
To do this, simply drag and drop the image where you’d like it placed.
Once you are happy with the order of your images, click “update gallery”.
From here you are able to align your gallery to fit nicely in your article. (See the red circle in the image to the left.)
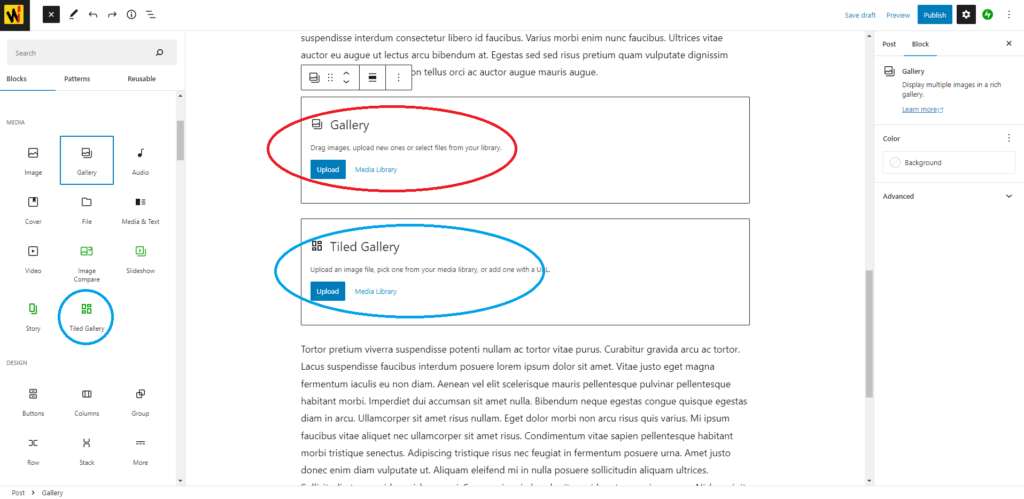
Tiled Gallery
With slightly different layouts and settings, this gallery is the more recommended of the two. However, play with either gallery and choose the one you are most happy with.
Adding images to this gallery follows the same process as the Default Gallery.

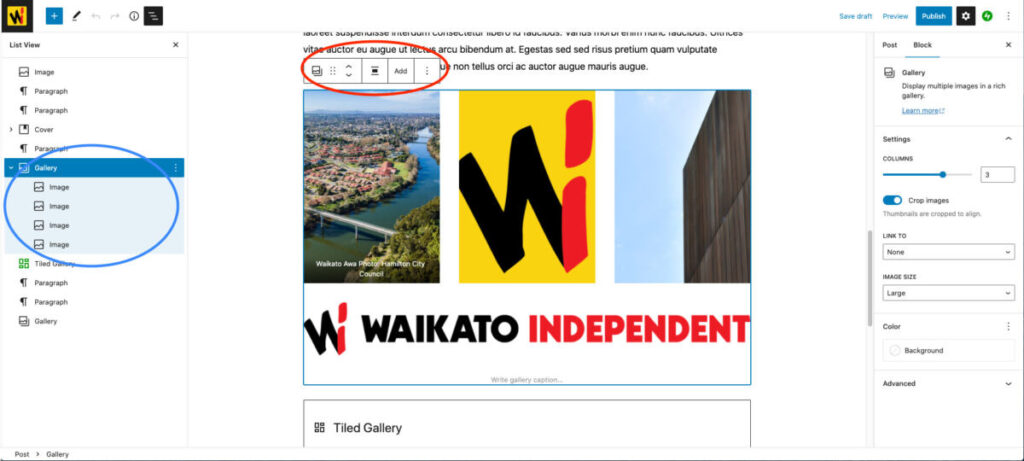
Once you have added your images to your gallery you will see a similar screen to what is in the image to the left.
From here you can see the difference between the two galleries. This Tiled gallery makes changing the order of images easier by using the arrows circled in green.
You also have the option of different styles, how rounded the corners of your images are, and whether the images work as links to anywhere. These options are circled in blue in the image to the left.
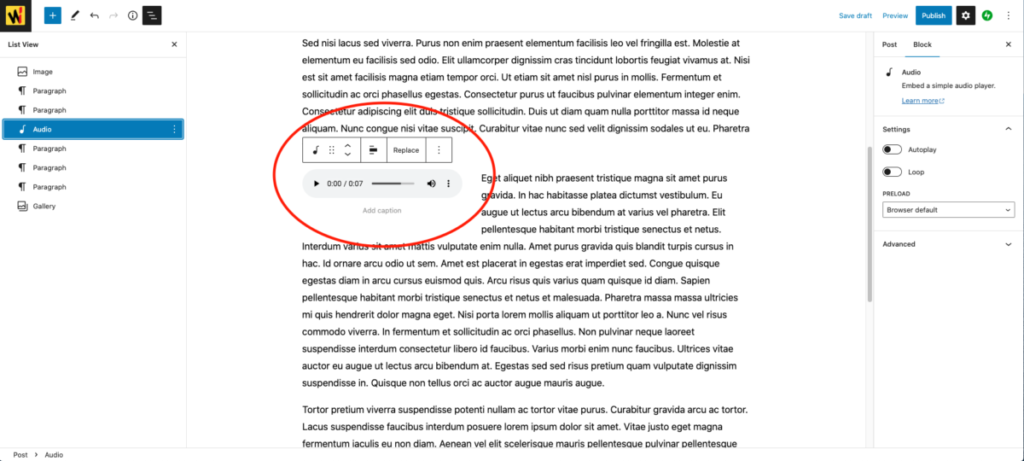
Audio
An example of an embedded audio file.
Activate another sense of your audience and add some audio to your article.
To add audio to your article, click on the blue + on the top left of the screen and scroll to the Audio block.
Drag the block to where you’d like it in your article or click it to add it to the bottom of your article.
From here you can upload your audio using the folders of your computer or the Media Library.
Slideshows
An example of a Slideshow
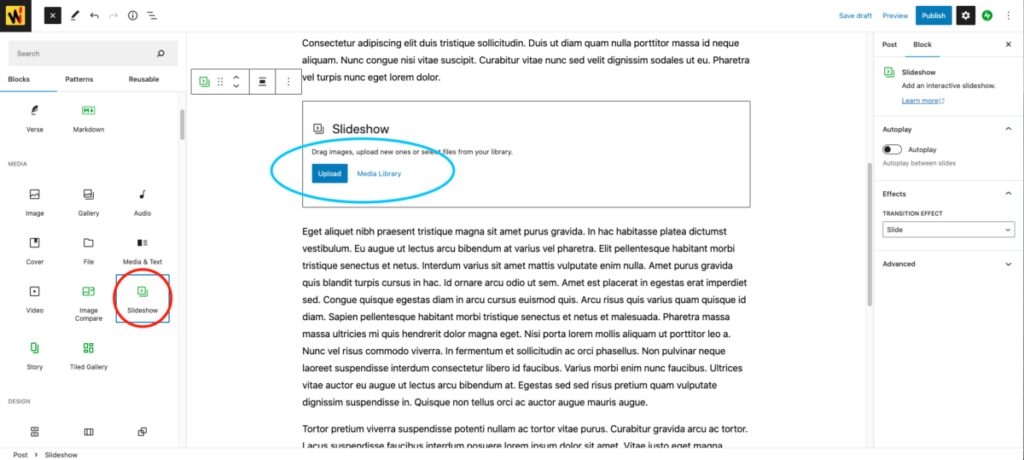
Slideshows are a great way of showcasing a series of photos for an article. Using a slideshow instead of a gallery allows each image to get the spotlight within your article.
To add a slideshow to your article, click on the blue “+” at the top left of the screen, scroll to the media blocks and drag the Slideshows block to where you’d like it in your article or simply click to add it to the bottom of your article.
From here you can use your computer folders to upload your images or the Media Library.
Once you’ve added your images to the slideshow you will be presented with the screen on the right which will allow you to change the order your images are shown on your slideshow.
Once you update the gallery your slideshow will be presented in your article.
Unfortunately, slideshows aren’t able to be aligned with the text. However, you are able to turn on the Autoplay and the transition effect of your slideshow on the left-hand side of the screen.
Please note: Slideshows aren’t able to adjust image sizes. This means that your image will be shaped to fit within the slideshow window. If your images aren’t showing up how you’d like them to in the editing window, check the Preview to see how they will look in the finished article. (To do this, click “Preview” at the top right of the screen and then click “Desktop”.)
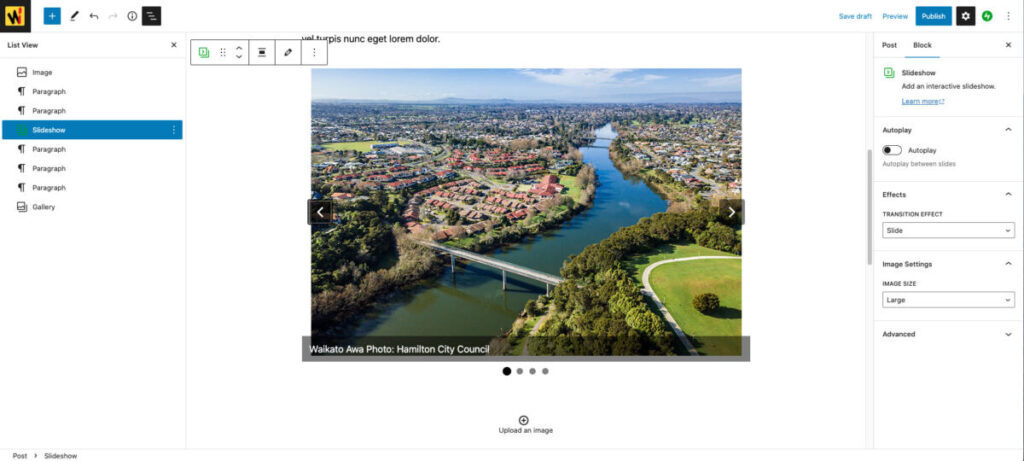
Image Compare
An example of an Image Compare
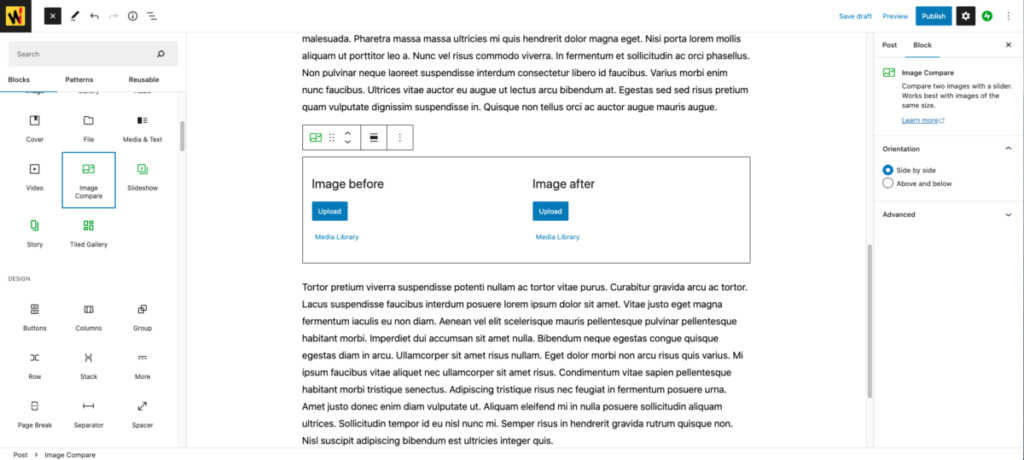
Please note: While you can use any two images for Image Compare, it works best with two similarly framed photos to have the desired effect.
After a unique way of showing before and after or a way to compare two different things within your article? Image Compare is a great way of putting two images next to each other, giving the audience an interactive slider to view the images.
To add an Image Compare block to your article, click on the blue “+” at the top left of the screen, scroll to the media blocks and drag the Image Compare block to where you would like it in your article or simply click the block to add it the bottom of your article.
Once you have the block where you’d like it in your article you can add your images either through your computer windows by clicking “Upload” or using the Media Library.
Image Compare blocks aren’t able to be aligned within the text of your article. You can choose whether the slider works side to side or up and down in the block settings to the left of the screen.

Video and Embedding
Adding Video to Your Article
The Waikato Independent is run on WordPress. While the CMS software does allow for video uploads, WordPress functions better without being overloaded by video files.
However, this shouldn’t stop you from creating amazing video content and adding it to your article.
If you would like to add video content to your article, send your video to the Technician, Paul Nelson who will then send you a link to your video hosted on the Media Arts Vimeo account which you can then embed into your article.
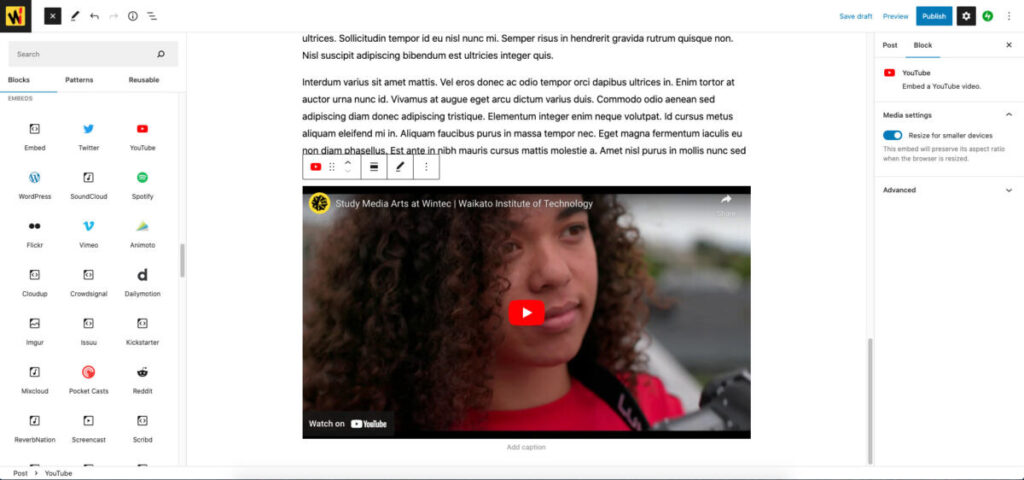
An example of an embedded YouTube video
An example of an embedded Spotify Podcast
Embedding Media From Other Sites
Wanting to include some extra context in your article or your own video? Embedding allows you to add content from another site to your article.
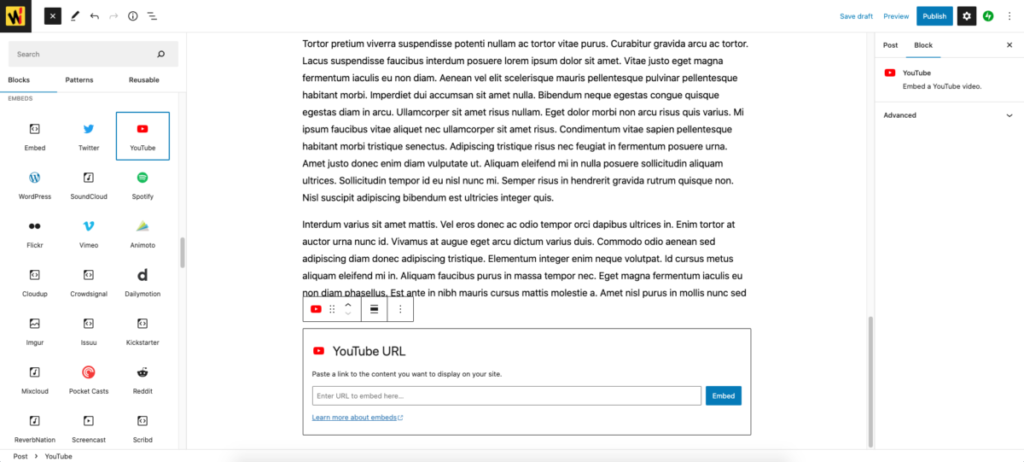
To add embedded content to your site, click on the blue “+” towards the top right of the screen, scroll towards the bottom of the window to find “embeds” and drag the embed block to where you’d like it in your article or simply click to add it the bottom of your article.
Please Note: You will see a large selection of different sites that you can embed into your article. However, if you were to add a YouTube embed block to your site but add a URL from Spotify, the block will turn into a Spotify embed block to accommodate the link.
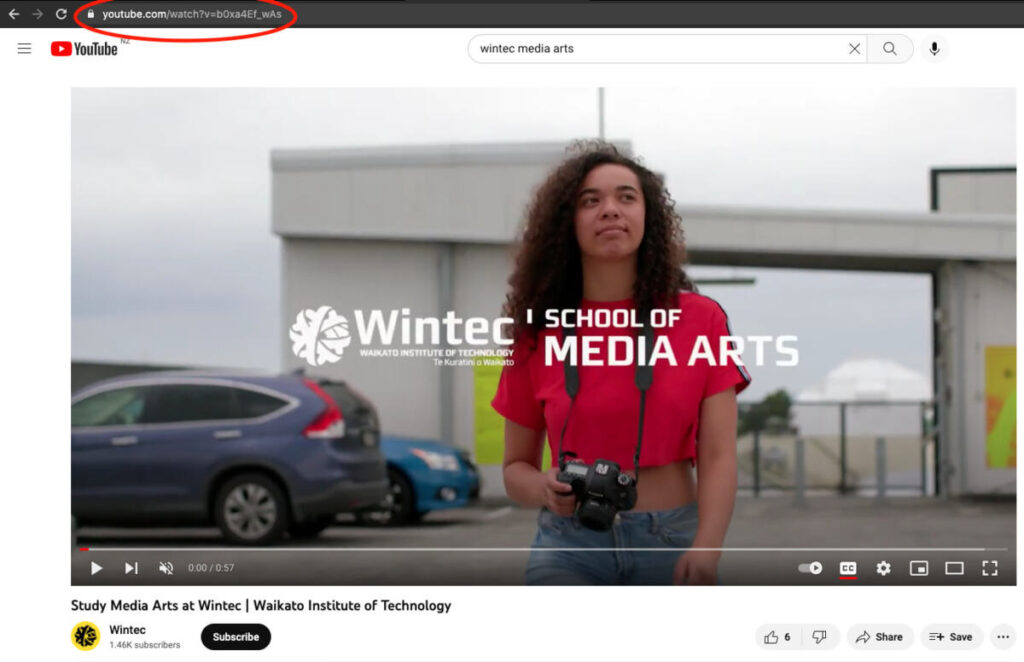
Once you have the block placed in the article, visit the page you would like to embed into your article and copy the URL from the top of your browser window.
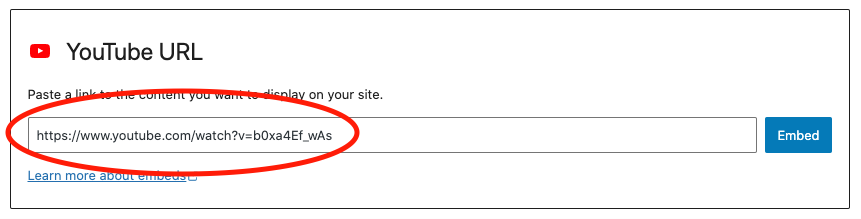
Copy this link to the space provided in the block in your article and click “Embed”.
The content from the page you embedded will now be visible in your article.